Managing Clients
Clients are the foundation of RetainerOps. Every task, time entry, package assignment, and report is scoped to a client.

Adding a client
Navigate to Clients → New Client. You'll need at minimum a client name. Optionally add:
- Contact name — the primary point of contact at the client organization
- Contact email — used for report delivery and portal invitations
- Color — a hex color used to visually identify the client across the dashboard
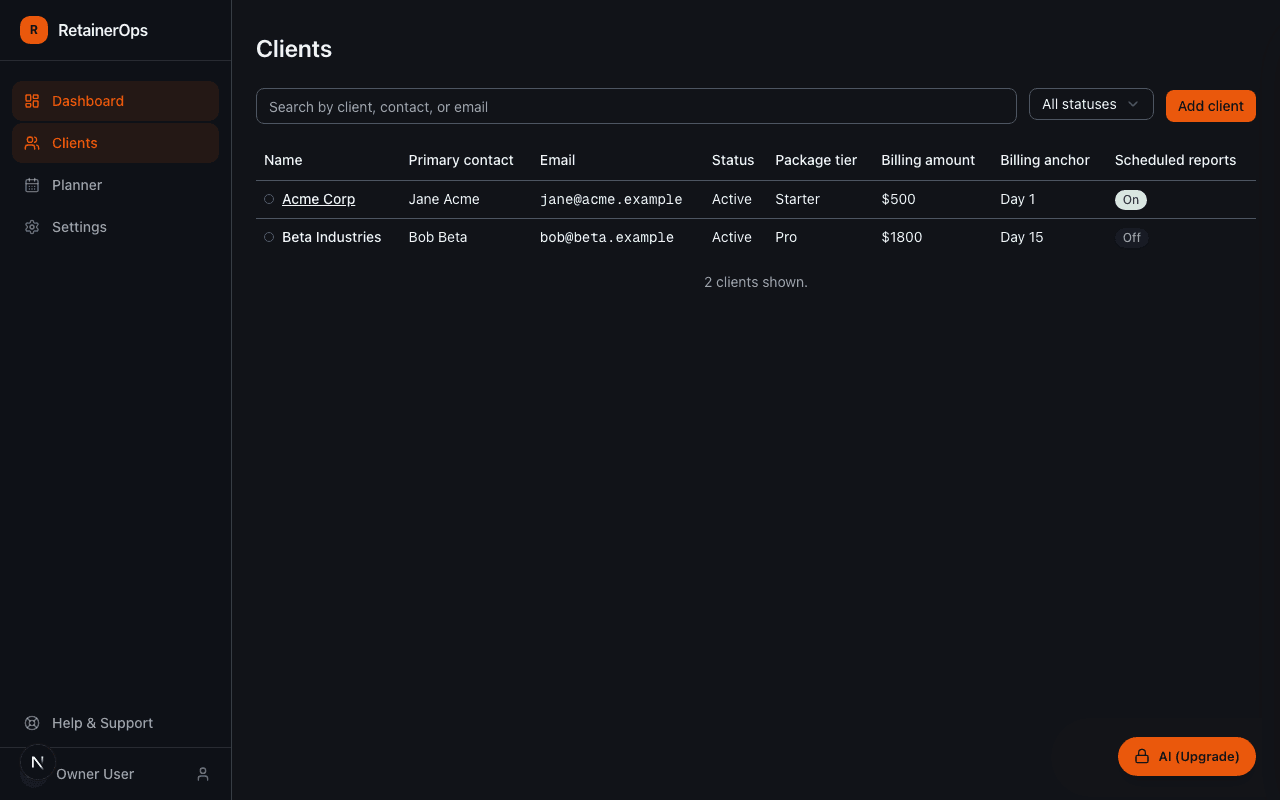
Client status
Every client has one of three statuses:
- Active — the engagement is running; time entries and task updates are tracked normally
- Paused — the engagement is temporarily on hold; the client is still visible but de-emphasized
- Archived — the engagement has ended; the client is hidden from default views but data is preserved
Change a client's status from the client detail page using the status dropdown.
Client color
Colors appear throughout the app — in the client list, time entry logs, and the planner — to help you quickly identify which client work belongs to. Choose a color that matches your client's brand or is easy to distinguish from your other clients.
Packages and usage
A client becomes a retainer client once you assign a package tier to them. The package defines the included hours, billing price, and usage cycle. You can assign multiple packages over time (when a retainer is renewed or upgraded).
Client detail page
The client detail page is the central view for a single client engagement. From here you can:
- See current retainer usage (hours consumed vs. included)
- View and create tasks for this client
- Browse and log time entries
- Access recent activity and notes
- Open usage reports
- Share the client portal link